Buy on Amazon as part of the 37 in 1 kit
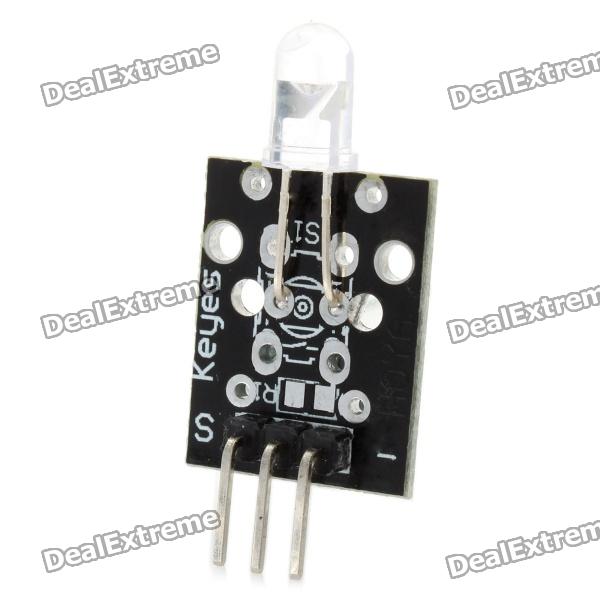
Infrared transmitter module
This time we want to introduce infrared transmitter and receiver modules, in fact, they are now in our daily life. They play an important role in lots of household appliances and are used in devices such as air conditioning, TV, DVD, etc., It is based on wireless sensing, but also can be a remote control, very easy to use.
Product
- Infrared emitter converts electrical energy into near-infrared light. It is also known as infrared emitting diode. Its structure is similar with a general light emitting diode, but made of a different semiconductor material.
- The infrared receiver is set to receive, amplify, and demodulate the near-infrared light into a digital signal.
- The principle of infrared communication Let’s look at the structure of the infrared receiver: there are two important elements inside an infrared receiver, named the IC and PD. IC is the receiver processing element, mainly composed of silicon crystals and circuits, is a highly integrated device, its main function is to filter, shape, decode. Photodiode PD’s main function is to receive the optical signal Number.
The following is a brief schematic work The modulated infrared emitting diode emittes a signal, infrared receiver, after receiving decodes, filteres, and a series of operations.
Use
We first look at the diagram, to understand the infrared transmitter and receiver module specific connection with the Arduino Note: The above circuit is based on our above that kind protel schematic structures, and meet the specific pin assignment Shown in the schematic. Well, the test circuit there, look at the code under test right now This time we use to two Arduino control board, a main transmitter (Master), one as a slave receiver (Slave), Own specific set. We can according to the above schematic wiring and fixed infrared transmitter and receiver modules, here I We can work together to test it.
Hardware Requirements
- Arduino controller × 1
- USB data cable × 1
- the infrared transmitter module × 1
- the infrared receiver module × 1
In this example we have an example for sending and reciving IR code.
Example Code
Receiving IR codes :
# Include <IRremote.h>;
int RECV_PIN = 11; // define input pin on Arduino
IRrecv irrecv (RECV_PIN); //decode_results results;
void setup ()
{
  Serial.begin (9600);
  irrecv.enableIRIn (); // Start the receiver
}
void loop () {
	if (irrecv.decode ( & results)) {
		Serial.println (results.value, HEX);
        irrecv.resume (); // Receive the next value
  }
}
Sending IR codes:
Include <IRremote.h>;
IRsend irsend;
void setup ()
{
	Serial.begin (9600);
}
void loop () {
	for (int i = 0; i <50; i + +) {
             irsend.sendSony (0xa90, 12); // Sony TV power code
             delay (40);
        }
}
The amount of points we can hand to block receiver module, see also the normal communication between them do?